Brew Guide - Pour Over
Welcome to the wacky, wonderful world of pour-over brewing. Being the largest category of manual brewing, the types of brewers can vary widely. As such, we've provided a straightforward brew guide and some tips and tricks specific to the most widespread equipment. As a general rule, most manual pour-overs are of the percolation variety. This means liquid passes through the bed of coffee and is filtered. Another important note is between metal and paper filters. Paper will provide a "cleaner cup" by filtering out many of the oils in a coffee bean. Metal will provide a more full-bodied beverage, allowing oils to pass through.
What You'll Need
Now armed with some info, let's see what you'll need today:
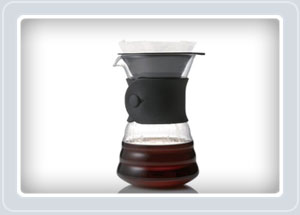
Your Pour-Over Brewer
They generally come in glass, plastic, and metal. Plastic will be the most temperature stable, as well as often being near-indestructible. Glass and metal will absorb heat very well. Still, they'll also lose it faster, making them less thermally robust.

Filters
You'll need a filter. Either paper or metal, make sure you grab the right one for your brewer as they're not standard.

High-Quality Water
Filtered tap water will work great! Careful not to use distilled water; this doesn't have the enriching minerals that will make your coffee delicious.
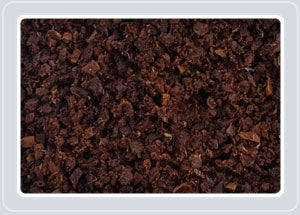
Ground Coffee
Ground Coffee. Fresh ground is best. Grinding fresh will allow you to preserve those flavors into your cup. Manual pour-over has a similar grind profile to an automatic coffee dripper, so terms of grind size, we're generally looking for a medium to medium-coarse grind. 600-700 microns if you're a coffee super geek!
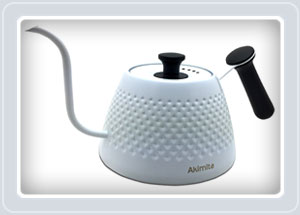
Gooseneck Kettle
While not strictly necessary, a kettle with a precision pouring tip will significantly improve your brews. Not only does it allow you to control your extraction, but if you splurge for a temperature control model, you can experiment with different brew temps and replicate your results.

A Spoon
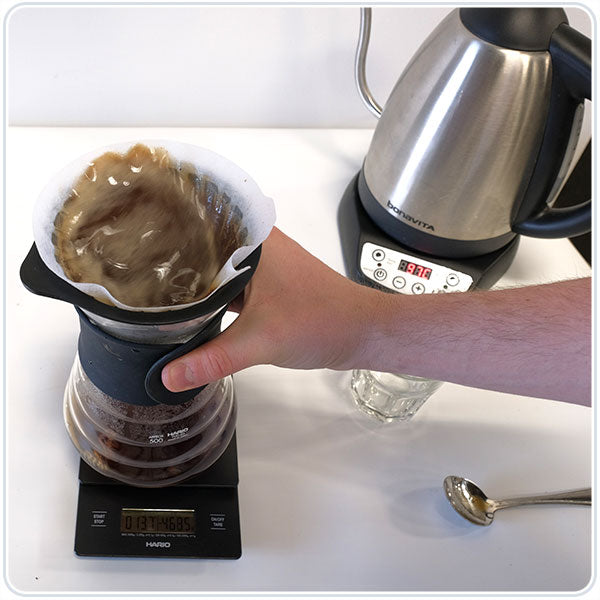
A spoon. You'll use it to agitate your brew and allow all of the coffee to get saturated by the water. You could use your finger, but like, ew...
Step # 1 - Prep and Pre-Heat
As with any manual brew method, you'll want to pre-heat your brewing vessel. At the same time, you can rinse your filter if using a paper filter; This will eliminate any starchy paper taste in the cup. Give a good 50-100 gram pour. If you're not using a scale, that's about a 1/4 cup.
Hario Tip
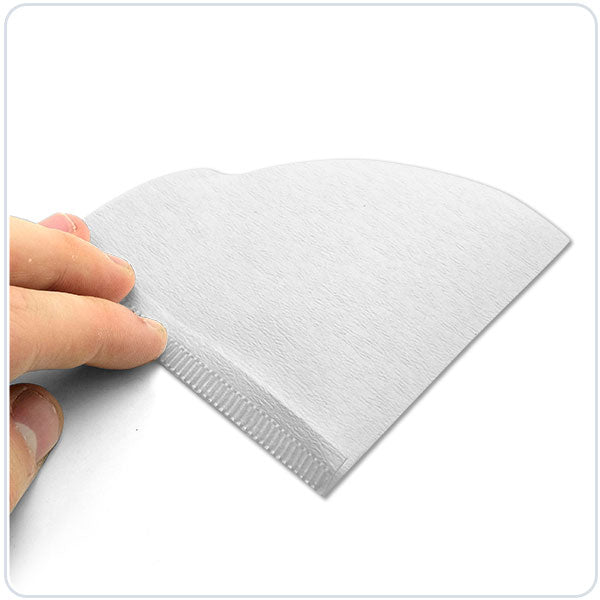
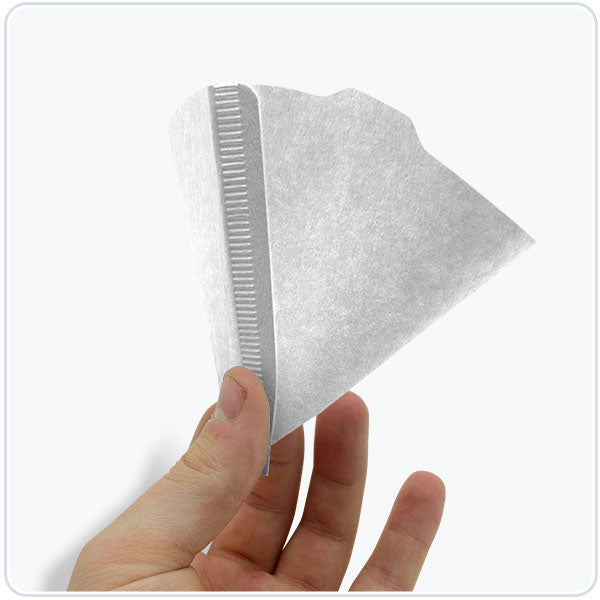
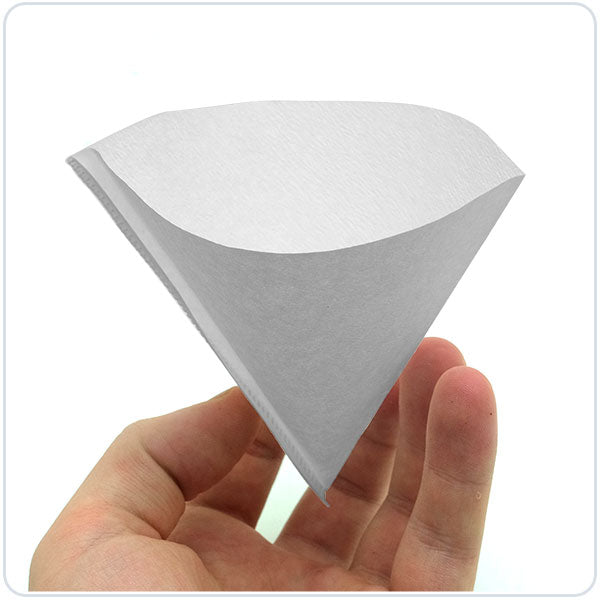
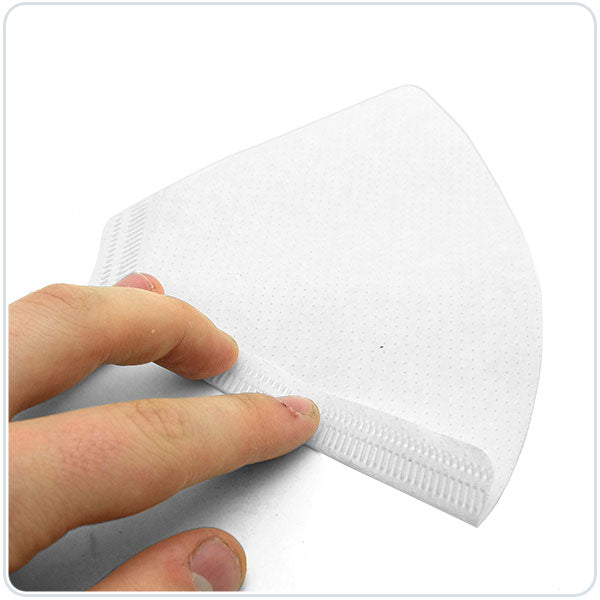
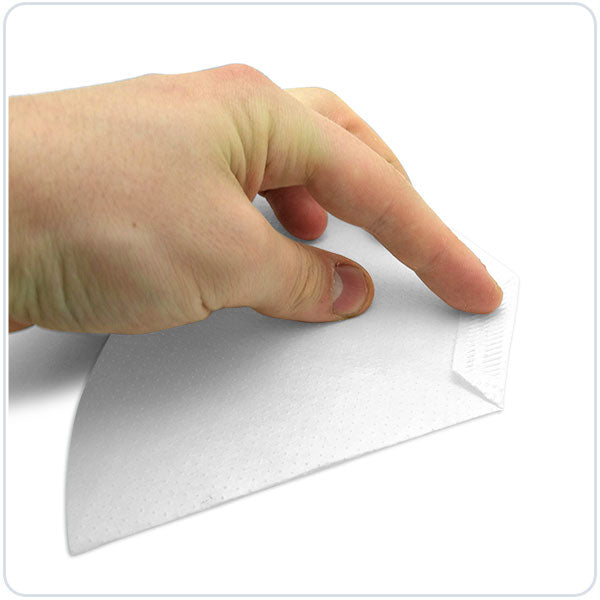
To fold the paper filter on a Hario, fold the seam edge onto itself, and then pinch the seam and the opposite side of the filter together at the bottom.
Chemex Filter Tip
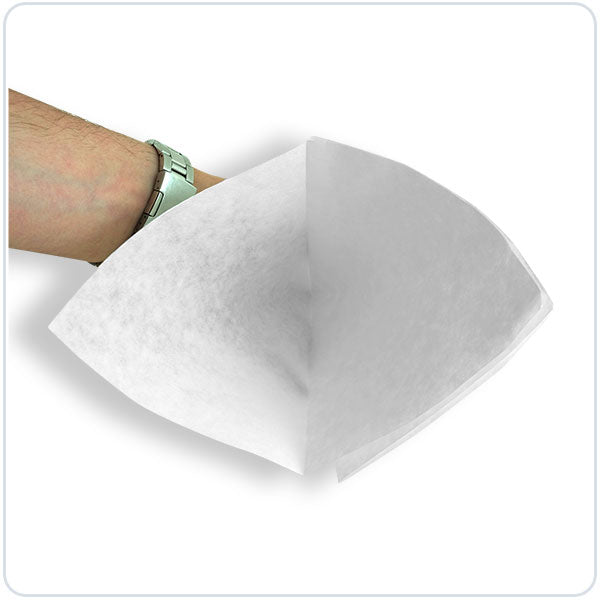
Your pre-folded Chemex filter should have three layers on one side and a single layer on the other. That three-layered side should go over the pouring spout to prevent a seal forming during the brew.
Melitta Tip
The Melitta filters are similar to the Hario. First, fold the seam down, and then fold the bottom seam in the opposite direction.
Step # 2 - Bloom and Brew
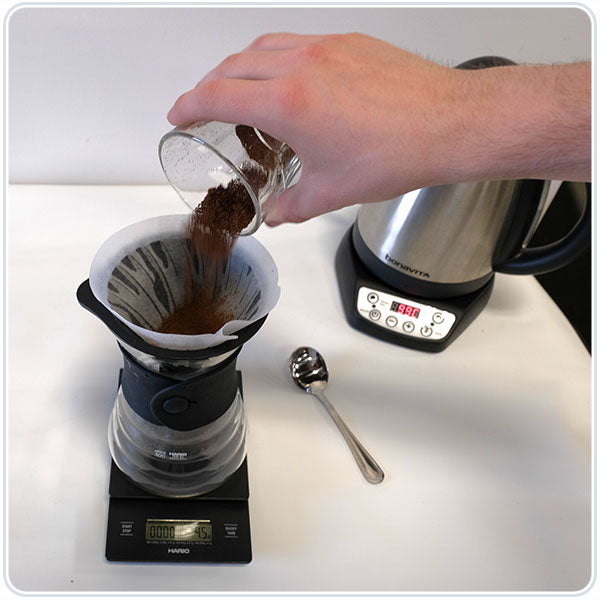
Now it's time to brew. Add your ground coffee to the wet filter. For this guide, we'll use 15g/250ml as our example, but it scales to any amount you'd like. Start by leveling your grounds in the dripper, via a quick shake.
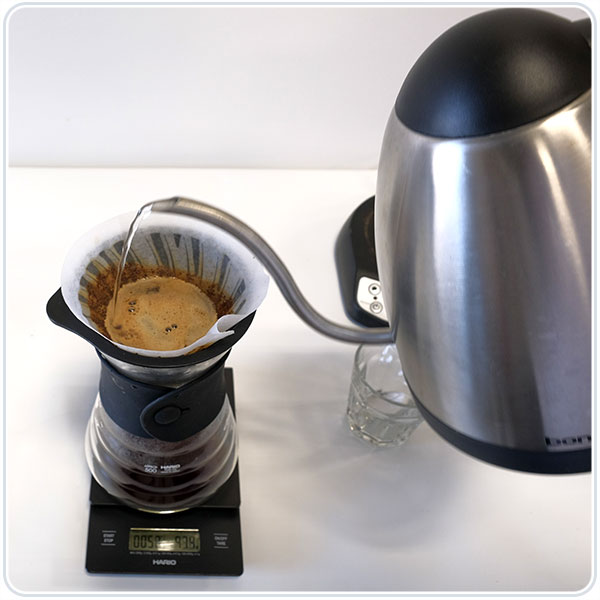
Start your timer and pour twice or three times the weight of your ground coffee. For example, 30g-45g of water for a single cup bloom.
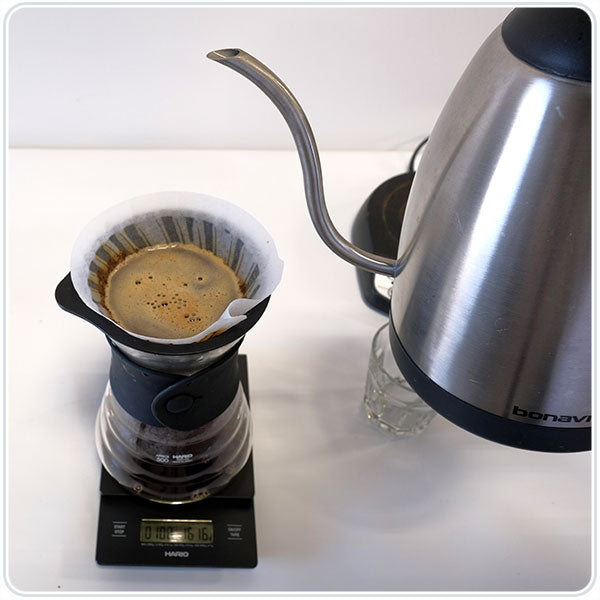
Now, wait 45 seconds while giving your dripper a little shake to make sure all the coffee and water have mixed, and there are no dry clumps.
After your bloom, add 60% of your total water in the next 25-30 seconds. In our example, you'll use 150g out of your total 250g of water.
Once you've reached that 60%, slow down, but don't stop pouring. Ideally, you reach your full amount of water without pausing in your pour. This is where the gooseneck kettle comes in handy. Of course, don't let your brewer overflow.
Once you've poured the full amount of water into your brewer, grab your spoon and give it a little stir in both directions. Pick up your brewer once again and shake it to settle the grounds. Then wait until it's finished.
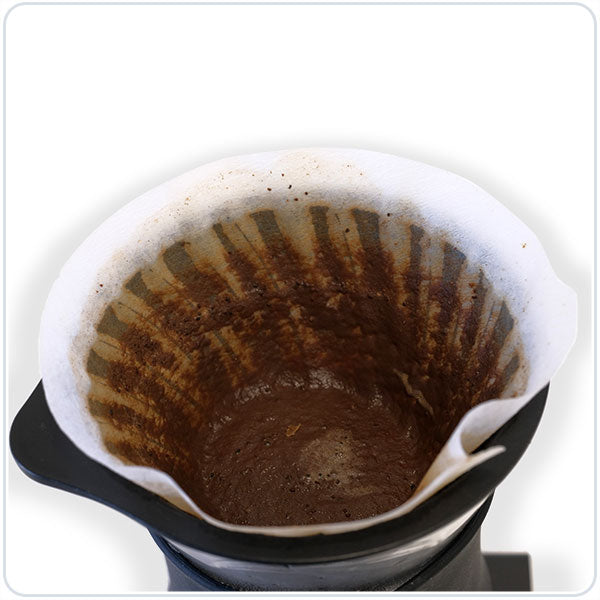
At the end of it, you should have a flat grounds bed and a minimal amount of coffee on your filter walls.
Now enjoy your beverage! Don't forget to taste and write down what you thought. You can use this to adjust your brew next time.
I'll recite that once again, a little more concisely:
- 00:00 Preheat & wet filter
- 00:00 Add coffee and tare out
- 00:01-00:45 Start timer and pour a bloom using a ratio 1:2-1:3
- 00:45 Agitate for full saturation and wait 45 seconds
- 00:45-01:15 Pour 60% of your total brew water in 30 Seconds
- 01:15+ Add the remainder of your water and agitate again


