


Brew Guide - Ten Steps to Espresso Making
Making espresso at home can be such a multifaceted experience. It can be romantic, joyous, disappointing, and exciting. One big obstacle many of our customers report is consistency. Sometimes they have a great double shot or latte one day, and a bitter one the next. We're going to try and clear up some of that with an easy-to-read checklist and step-by-step instructional. Once your coffee becomes consistent, it's so much easier to change it in ways you enjoy.
Step # 1: Heat-Up
Ensure your machine has had adequate time to heat up, WITH the portafilter or handle engaged in the machine. If these two pieces heat up separately, or the portafilter is cold, it'll lead to fast, sour shots that aren't pleasant.
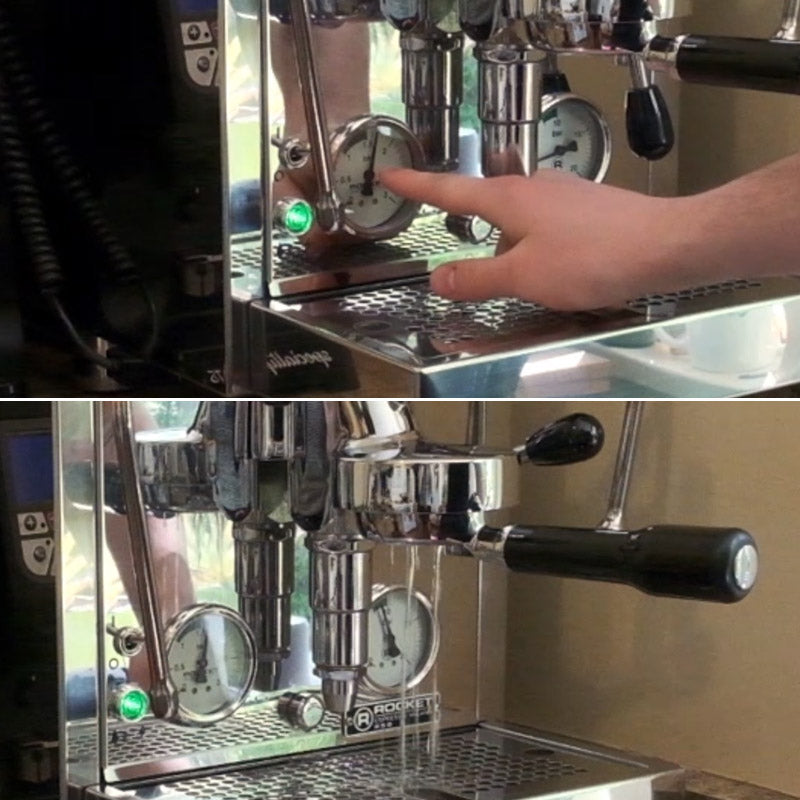
Step # 2: Pre-Flush Rinse
Rinse. You'll want to flush an ounce or so of water through your grouphead and portafilter. Just engage the brew switch for 1-2 seconds. This will not only help with thermal stability but flush any loose grinds from our last coffee into the portafilter for cleaning.
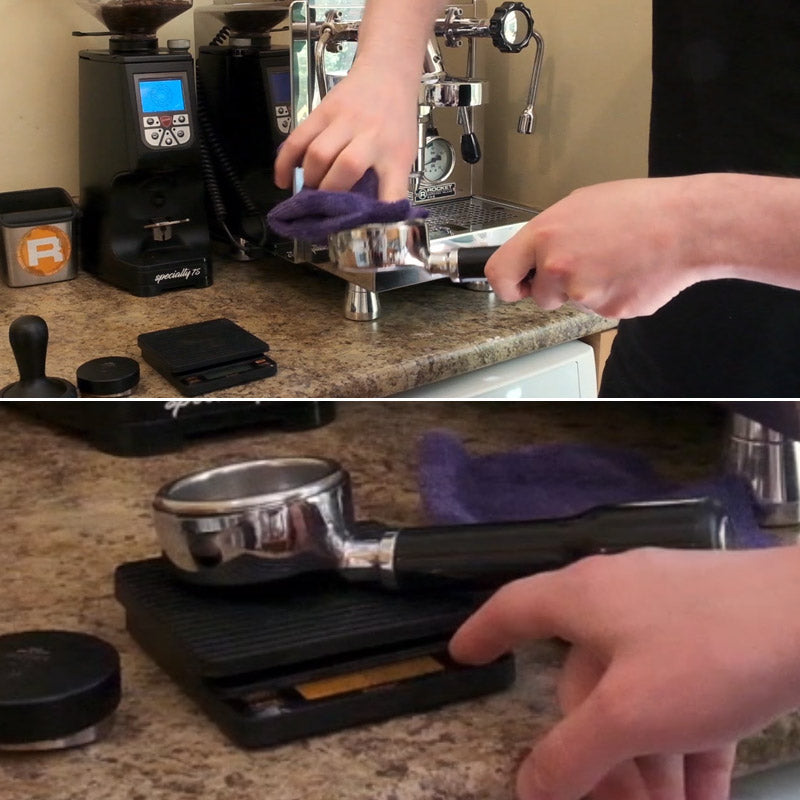
Step # 3: Clean and Weigh Portafilter
Remove and whip dry your portafilter basket with a cloth. We don't want any dampness prematurely extracting coffee.
Optional
Use a scale to weigh your portafilter and zero (tare) the scale.
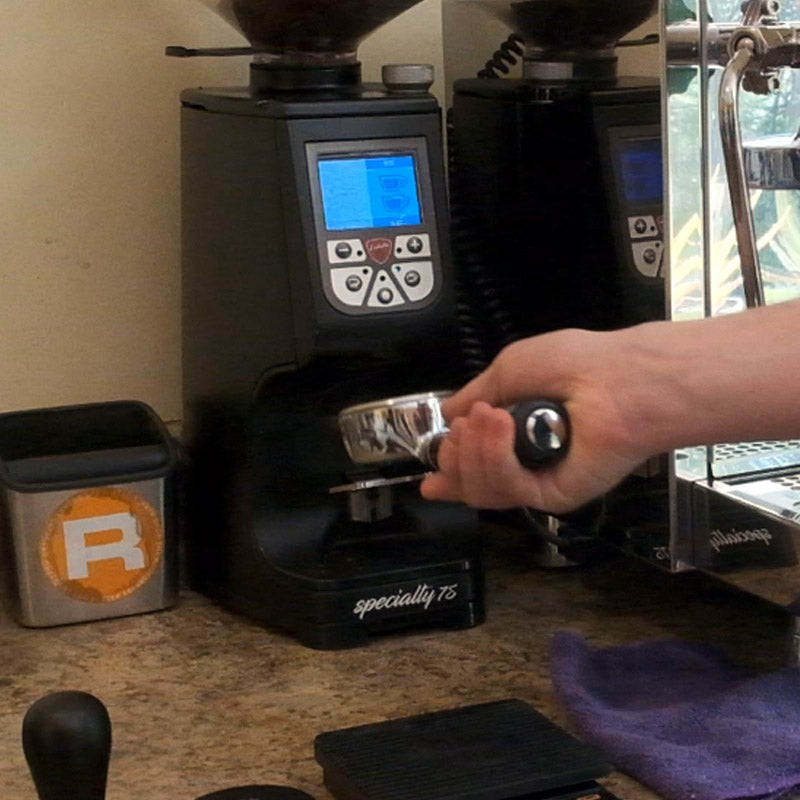
Step # 4: Grind the Coffee
Grind the appropriate amount of coffee for your machine into your portafilter. You'll want to keep this the same every time so you have one less variable to worry about.
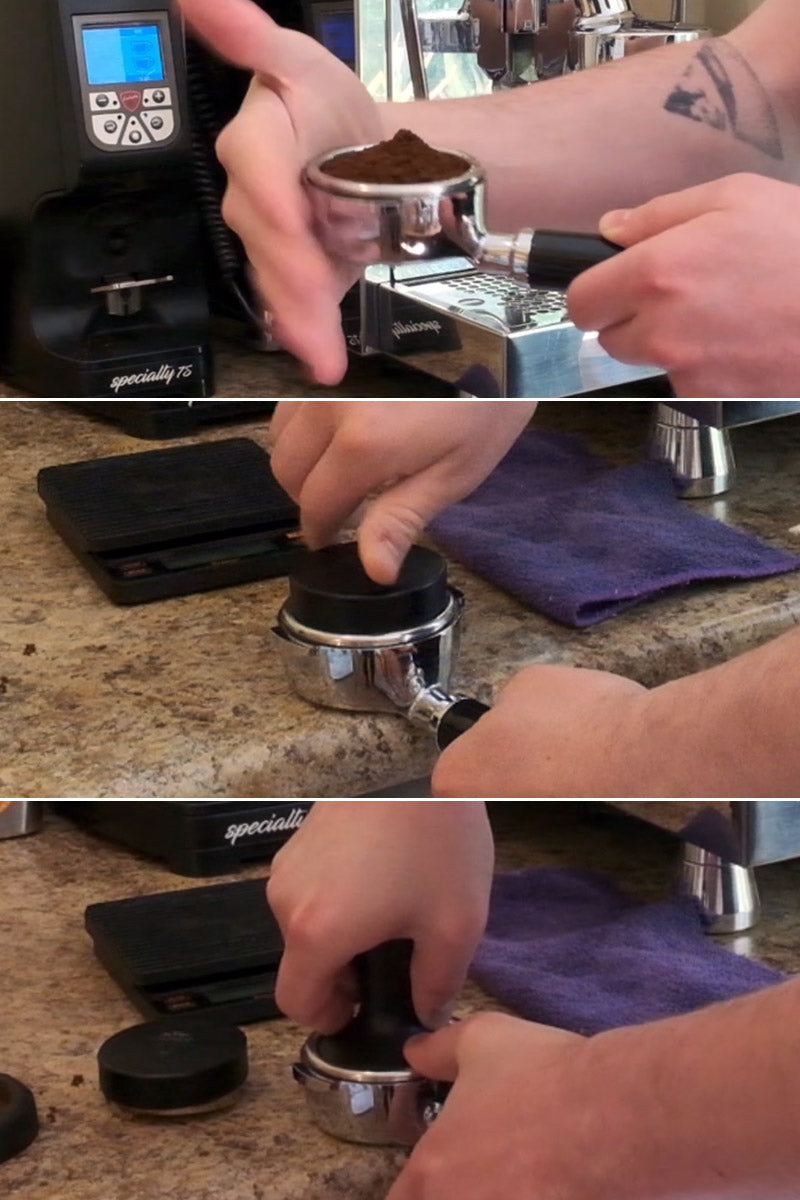
Step # 5: Tap, Distribute & Tamp
Make sure to tap the sides of your portafilter to level out the mound of ground coffee. If you're using a distribution technique, nows the time. Ensure it's as flat as possible before applying any tamping pressure.
Tamp by applying pressure ONCE as evenly and flat as you possibly can. You don't want to apply pressure more than once, so no tamp-knock-tamp actions please, this will layer your espresso and create a hotbed of uneven extraction. A tamping stand can help with this. Don't worry too much about the actual amount of pressure, ensure it's consistent every time to the best of your ability.

Step # 6: Attach Portafilter & Place Scale
Insert portafilter into your machine. Try not to knock it too harshly after you've tamped, we don't want to disturb the compacted puck you've just created.
Optional
Place scale and cup onto your tray, tare the scale again, and start time when you engage the pump.
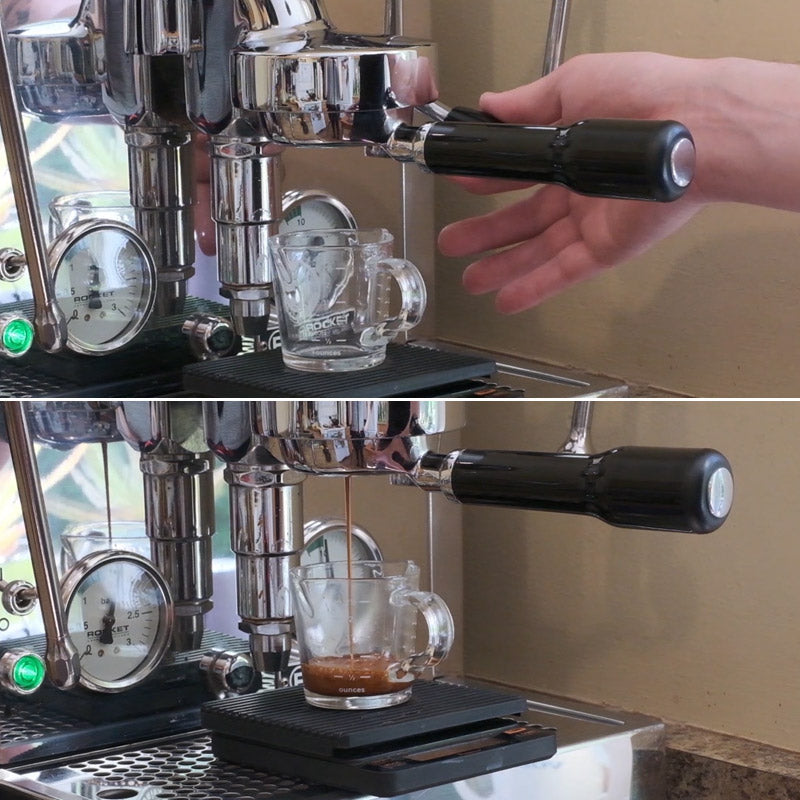
Step # 7: Pre-Infusion Brew
Engage pre-infusion if your machine is capable. How long you pre-infuse is up to you, but we can recommend a starting time of 10 seconds. Your brewing time doesn't start until you turn the pump on. Engage your brew switch, and start your timer or count in your head. If you'd like a standard, we're looking for 25-35 seconds, and approximately 2oz.
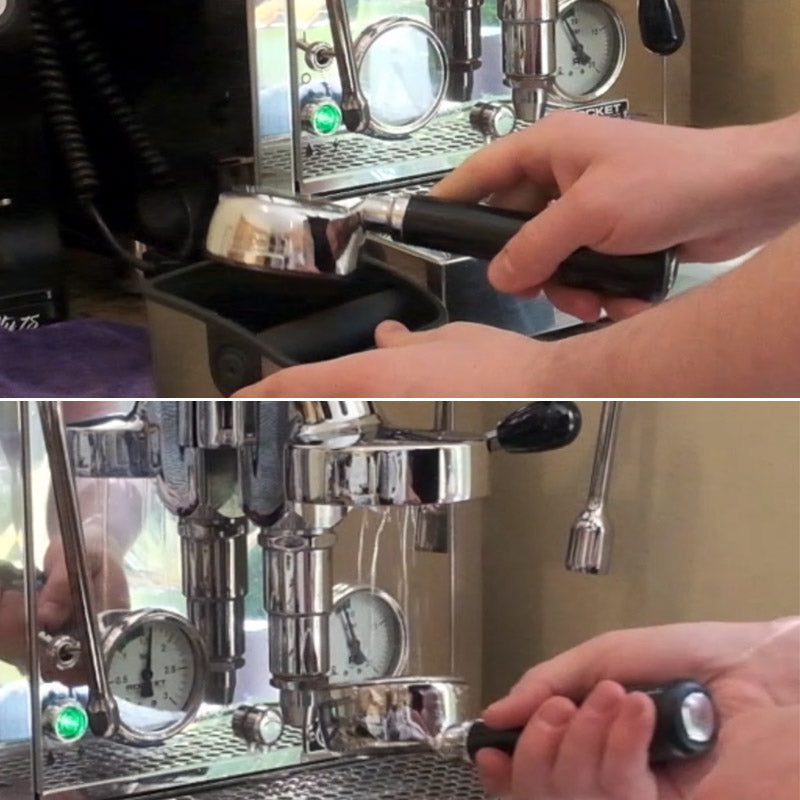
Step # 8: Knock Box
After shutting off your brewing switch, move your cup to the side, remove your portafilter and knock out the spent puck.
Step # 9: Rinse
Rinse your portafilter and grouphead, and lock your portafilter back in your machine.
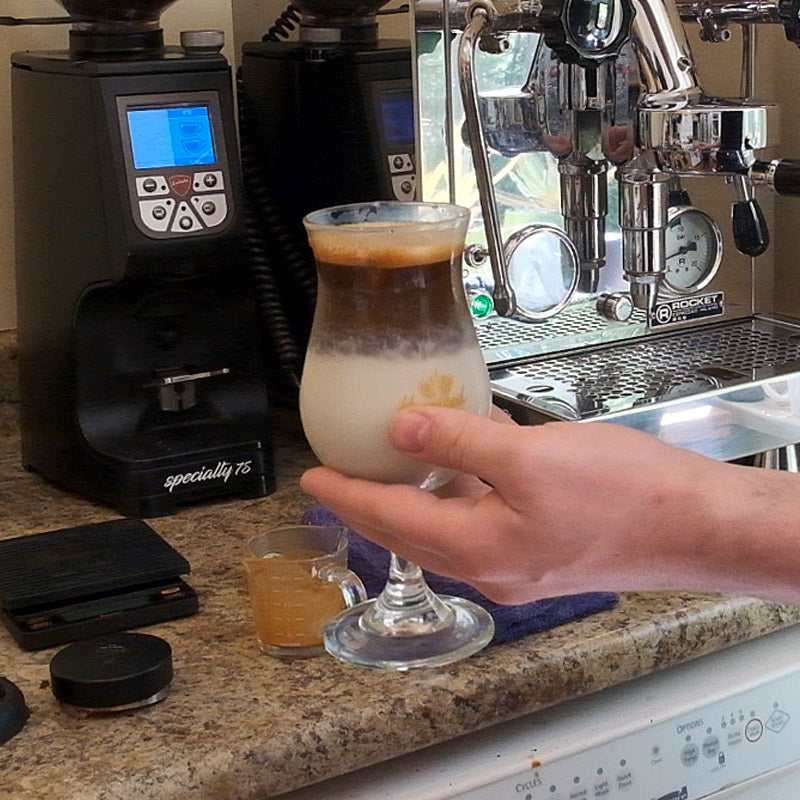
Step # 10: Enjoy!
Drink your coffee of course! Do you notice a bitterness at the back of your pallet? That means your coffee is over-extracted. You'll want to adjust your grind coarser to let the water through faster. Noticing a sour taste right at the front of your tongue? That's under-extracted. You'll want to make your grind finer to slow the water down.
Remember, the more variables you keep the same (amount of coffee, temperature of water, tamping pressure, etc.) the easier it becomes to adjust one variable (grind size) to get the coffee you love.